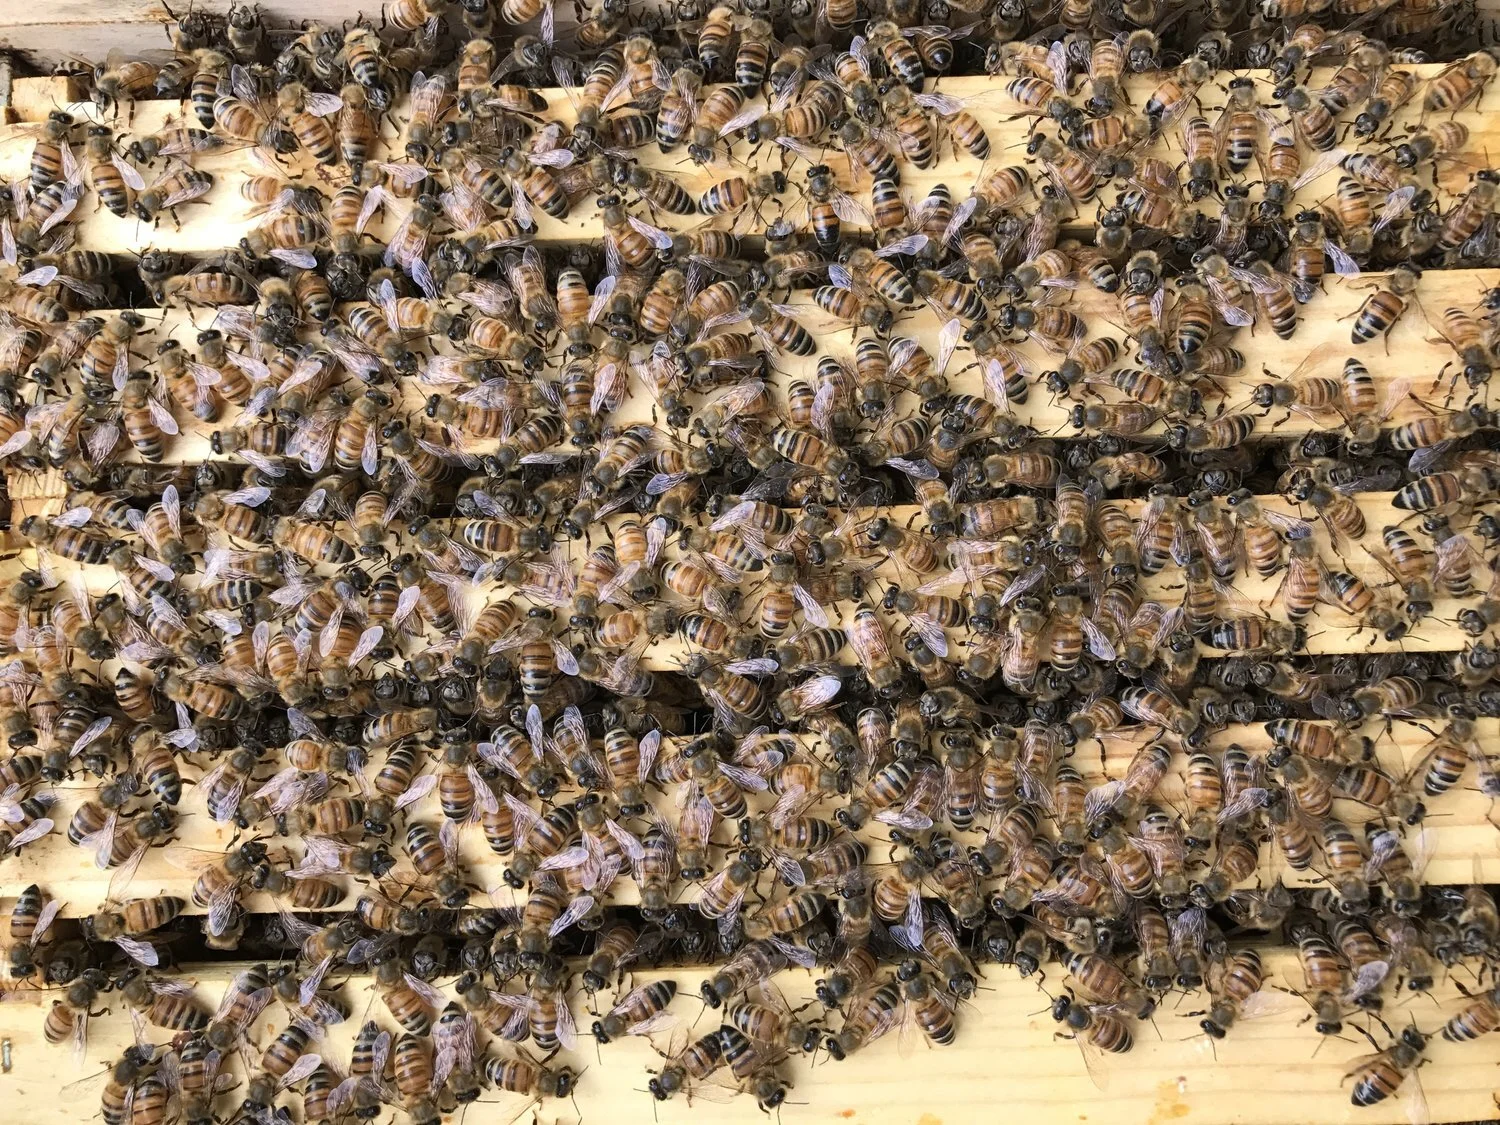
Week by Week of Bees
Day 1: Installation of Bees
Week 1: Check that the queen has been released. If not, poke holes in the candy with a needle to help out the other bees to get to her.
Week 2: Check the pattern of the queen.
2-4 sides of the frames should have brood, some capped, continue feeding.
Get ride of any kind of comb around the queen if any
remove the outside frames on one end, one by one, move them slowly until you get to the frame with the queen
Take empty queen cage out
Place all frames centered again
Hint: Always keep frames vertical, never horizontal, because with heat and fragile state of the combs, they will fall to the ground and you will loose eggs as well as honey and combs.
After 2 weeks you should start seeing eggs
Week 3: (21 days) Expect 3-4 frames of brood, Continue feeding
If no eggs, contact supplier about a new queen. Your queen might have flown away, or died.
Week 4: (28 days ) 4-5 Frames of brood. 7-8 drawn frames.
If 7 or 8 frames are drawn, add a second brood chamber. Continue feeding syrup and pollen substitute. Population begins to increase, continue feeding.
Week 5: (35 days) 5-7 frames of brood. 1 deep of drawn foundation.
Add a second deep. Population continues to increase and bees move into 2nd deep. Continue feeding.
Week 6: (42 days)
Check that bees are drawing comb in 2nd deep, it not, lift two frames of uncapped brood to the second deep and place frames of foundation in the lower deep in the 2nd or 9th position. Continue feeding.
Week 7: (49 days)
Manipulate frames to encourage bees to draw all the foundation in the comb
Week 8
Add supers.


